Shopify App Setup Guide
Complete this only if you are migrating products from Shopify or BinderPOS (Shopify-based)
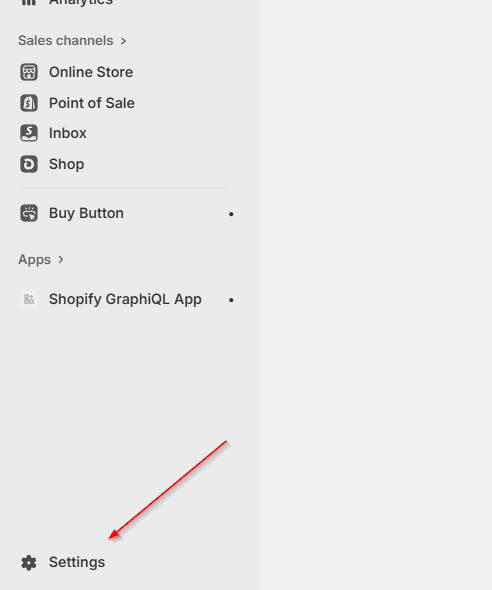
Step 1: In Shopify Admin, click 'Settings'
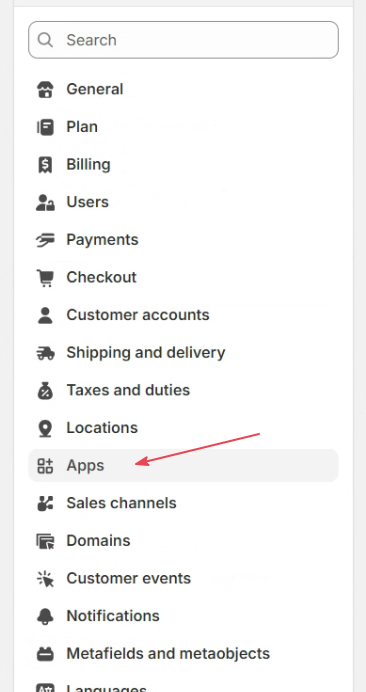
Step 2: In Settings, click 'Apps'
Step 3: Click 'Develop apps'

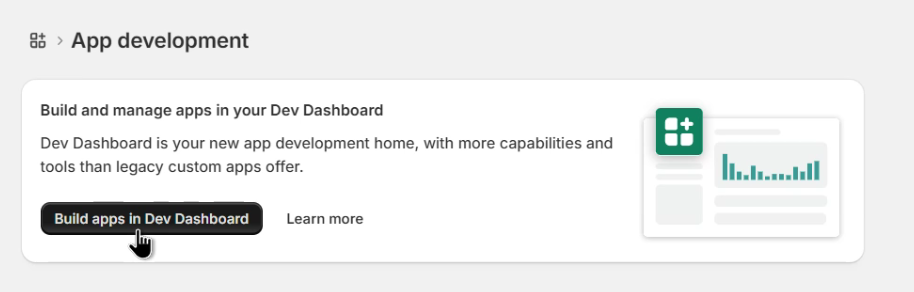
Step 4: Click 'Build apps in Dev Dashboard'
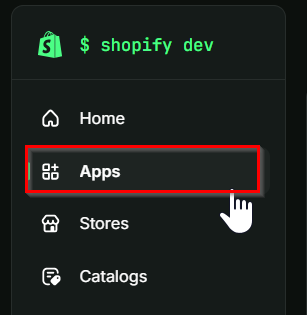
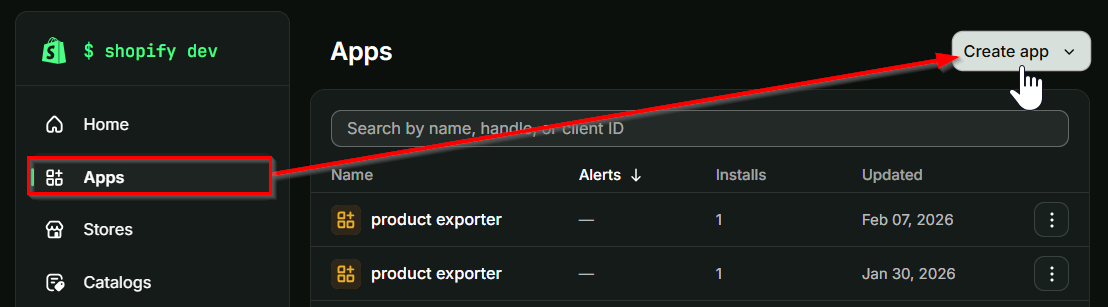
Step 5: Click the 'Apps' menu item
Step 6a: Click 'Create app' dropdown button
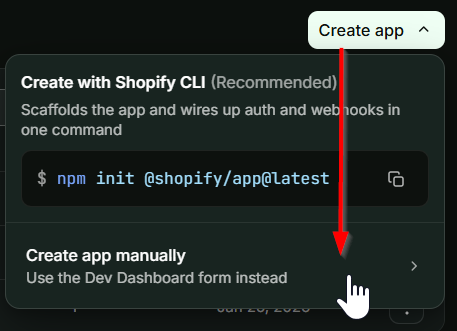
6b: Select 'Create app manually'
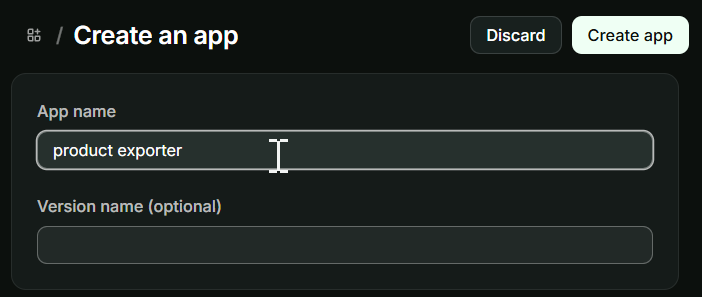
Step 7: Enter an app name
Step 8a: Scroll until you see the API Access Scopes box, then paste the required access scopes into the input box.
Copy these required scopes:
read_products,read_inventory,read_locations,read_files,read_metaobjects,read_metaobject_definitions,read_publications,read_markets,read_translations,read_locales,read_content
8b: Click 'Create app' 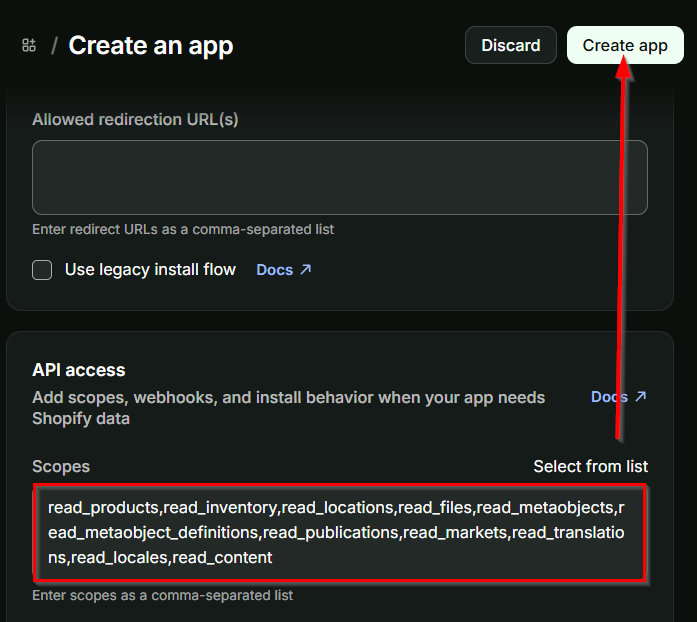
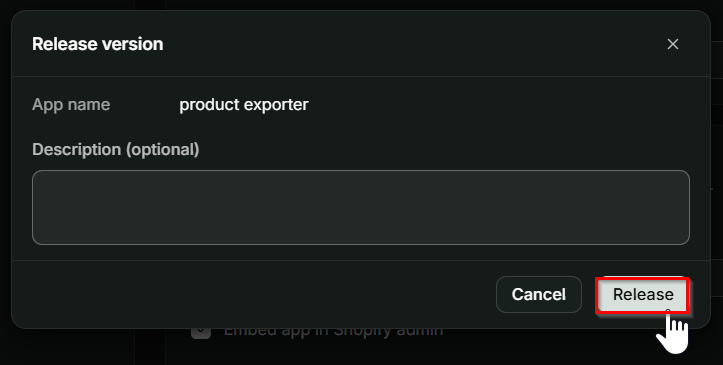
Step 9: A pop-up modal will appear. Click 'Release' to publish a new app version.
Step 10: Once the page refreshes, click the new app version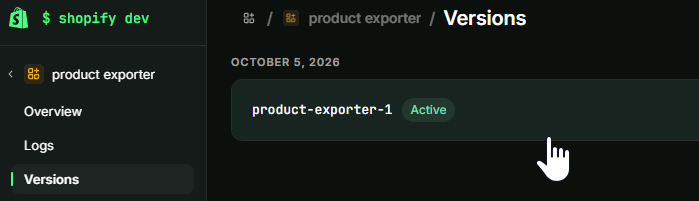
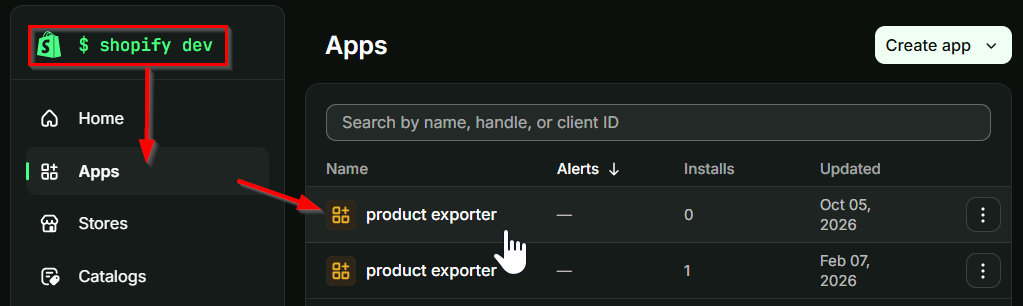
Alternatively- if page doesn't refresh, click the '$ shopify dev' homepage button to get back to the developer dashboard (https://dev.shopify.com/dashboard), and select the app version from the 'Apps' menu
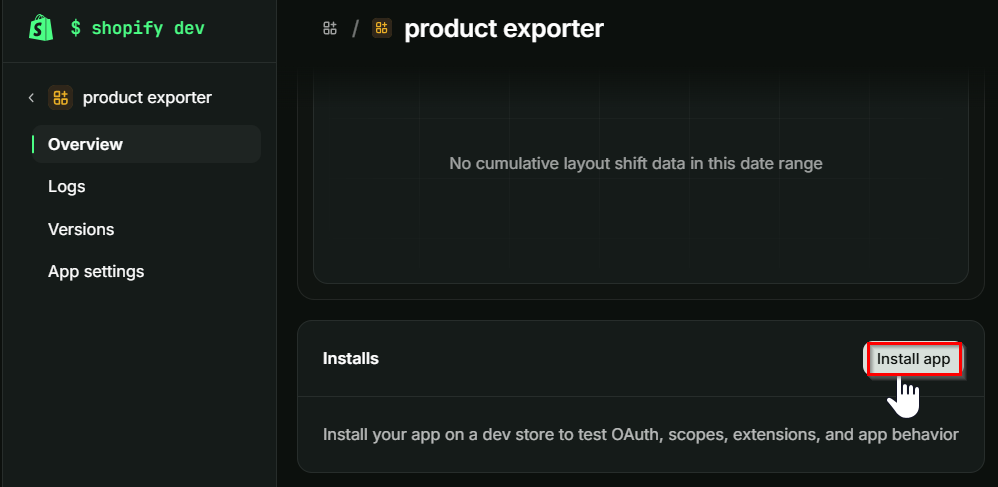
Step 11: From Installs, click 'Install app'.
Step 12: Select your store in the install flow.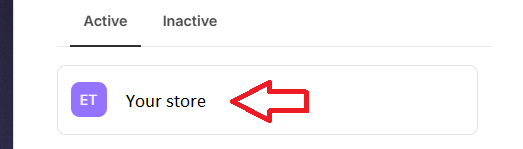
Step 13: Click 'Install' to approve permissions.
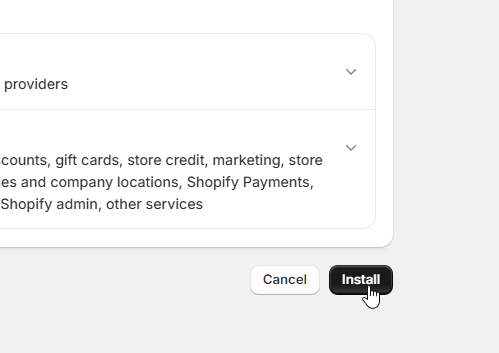
Step 14: Navigate back to the developer dashboard.
Developer dashboard: https://dev.shopify.com/dashboard
Step 15: Collect your Client ID, Secret, and Shopify Admin URL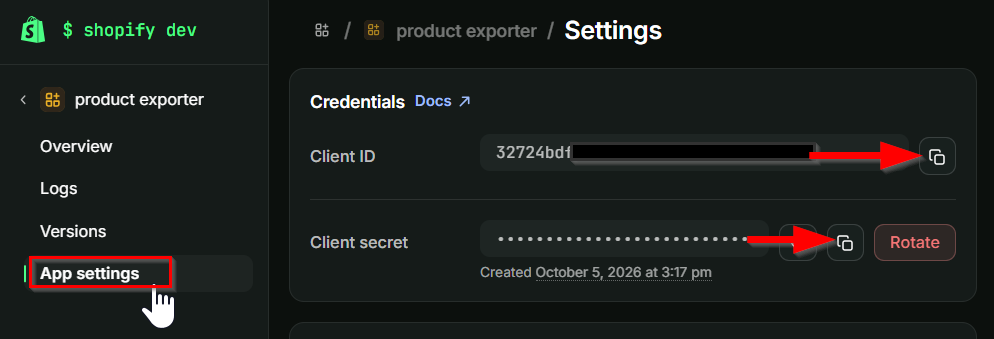
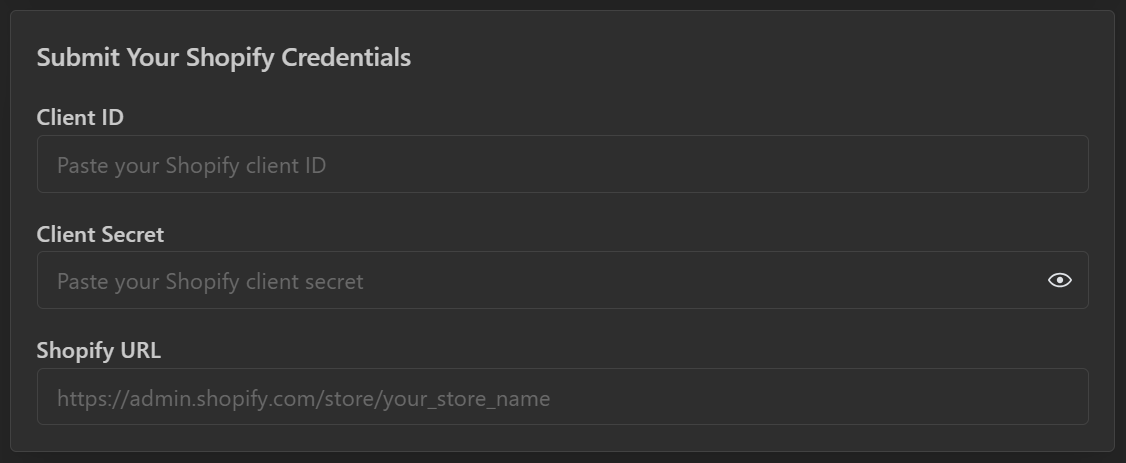
- Client ID
- Client Secret
- Shopify URL (example: https://admin.shopify.com/store/your_store_name)
Step 16: Submit these credentials into the ShadowPOS onboarding form.
Was this article helpful?
That’s Great!
Thank you for your feedback
Sorry! We couldn't be helpful
Thank you for your feedback
Feedback sent
We appreciate your effort and will try to fix the article
