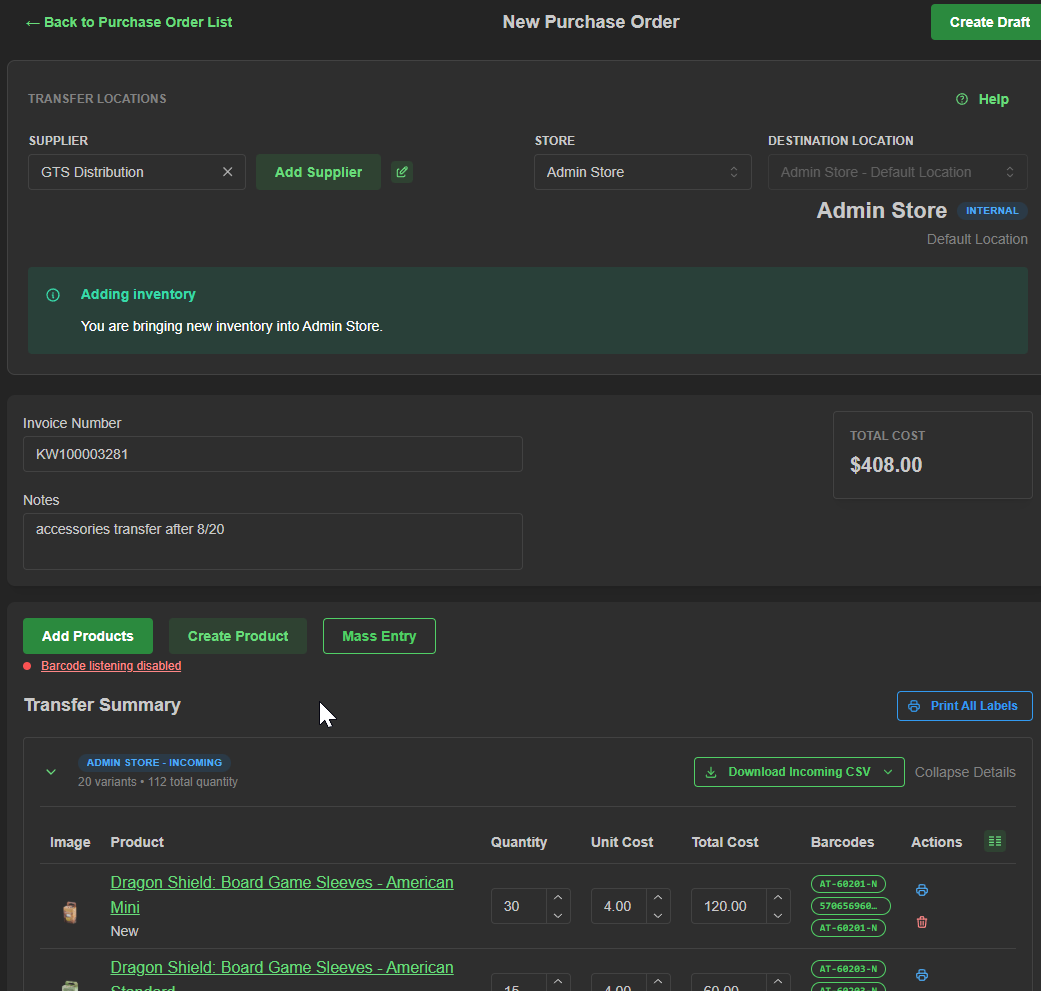
Purchase orders can create inventory transfers that you are expecting to receive or need to process now or have ready for acceptance later. They work similarly to compiling a list for transfer, with a few key differences in editable fields. Each supplier's invoice you receive may vary slightly in fields and layout, so be diligent when adding product info and keying in costs to keep your inventory and accounting consistent and reliable.
Visit Products > Purchase Orders
at a glance
We'll cover:
- Creating a purchase order
- Using mass entry (beta) feature
Creating a Purchase Order:
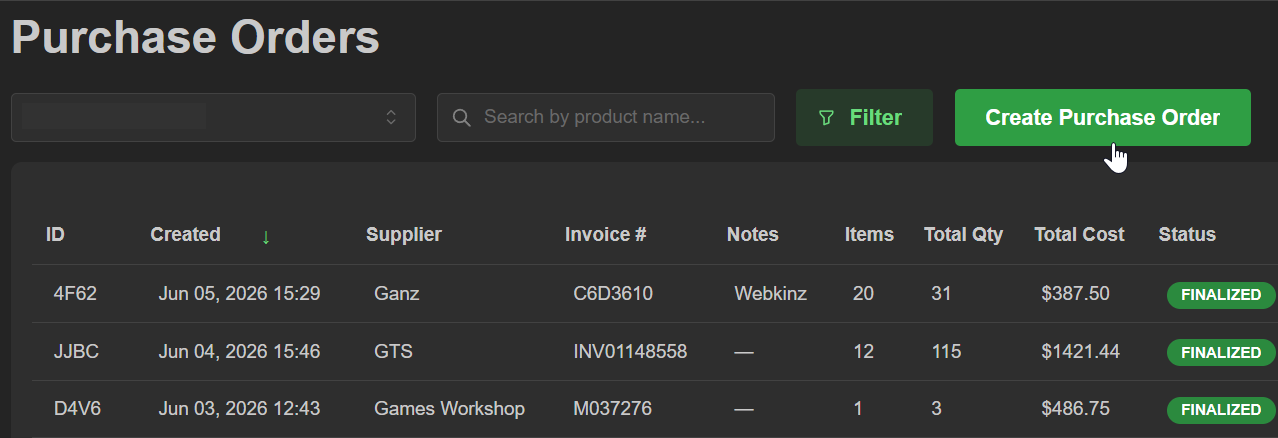
- Click the Create Purchase Order button in the top right
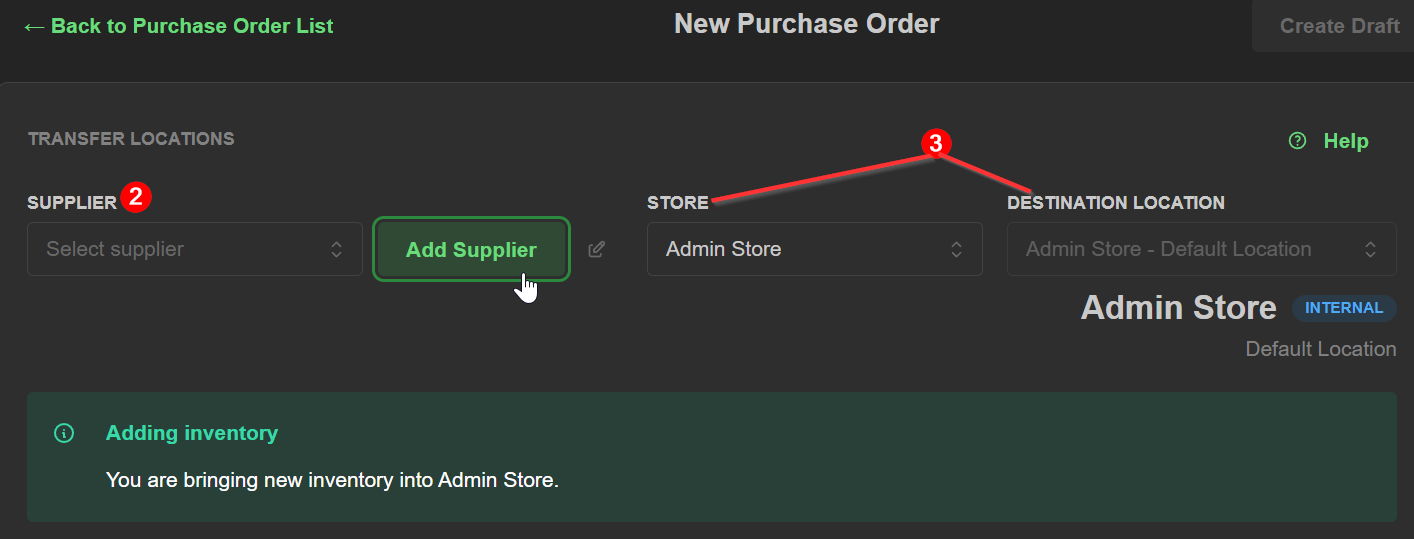
- Select the appropriate supplier from the dropdown list in the top left, or Add Supplier
- Ensure the store / destination location that will receive product is accurate
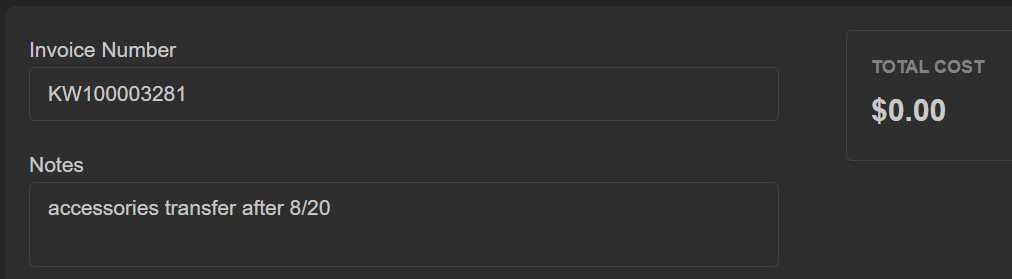
- Fill in applicable fields such as Invoice Number / Notes
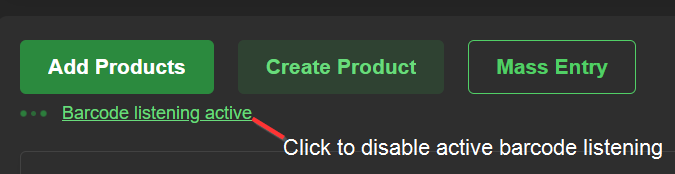
- Scan in your products, search manually, create on-the-fly, or use Mass Entry to reflect all item quantities from invoice (for accuracy), whether you will receive them later or not.
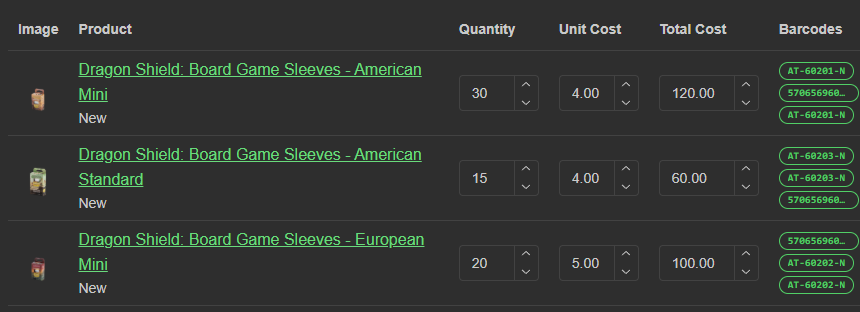
- Review quantities, cost, and all other information
- Click Create Draft in the top right to save

- Click Mark as Final to create a pending inventory transfer

- You can begin receiving it immediately if needed
 or by visiting the Transfers page (Products > Transfers) in the future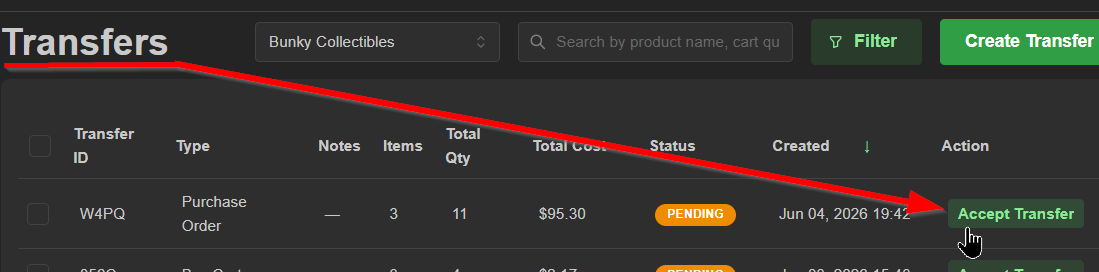
Mass Entry (Beta functionality)
the Mass Entry (Beta) option can help when you have large invoices or could use a streamlined entry approach.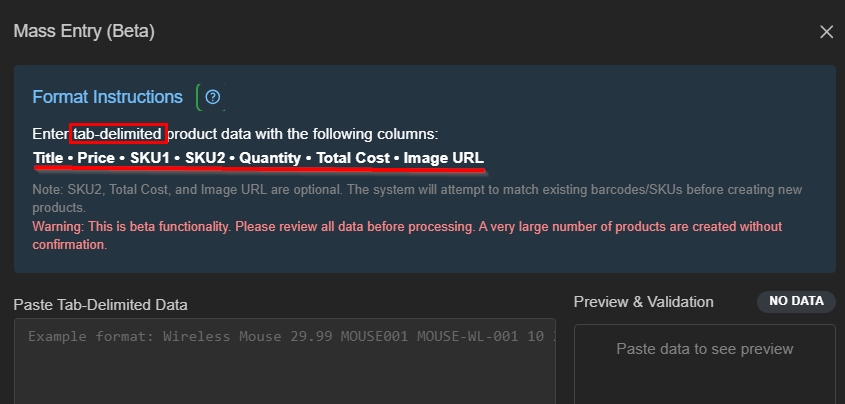
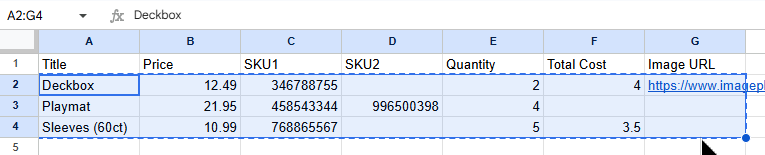
1) Reference your invoice to build a spreadsheet row-by-row in the following format:

Note: There are only four required column data fields: Title, Price, SKU1, Quantity
2) Highlight only the data fields, then copy to your clipboard
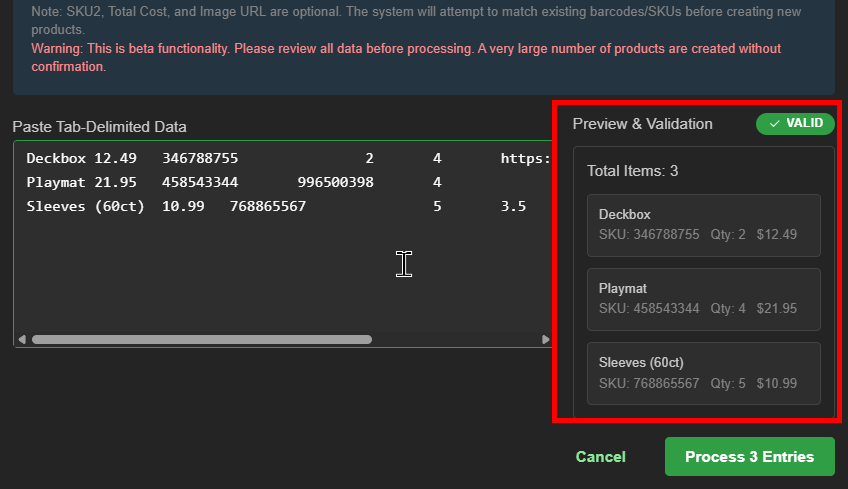
 3) Paste this data directly into the Mass Entry data field.
4) You can preview the entries to the right. If everything appears correct, click 'Process' to add these entries to your product list
Product has been added to your transfer list successfully when they appear like so:
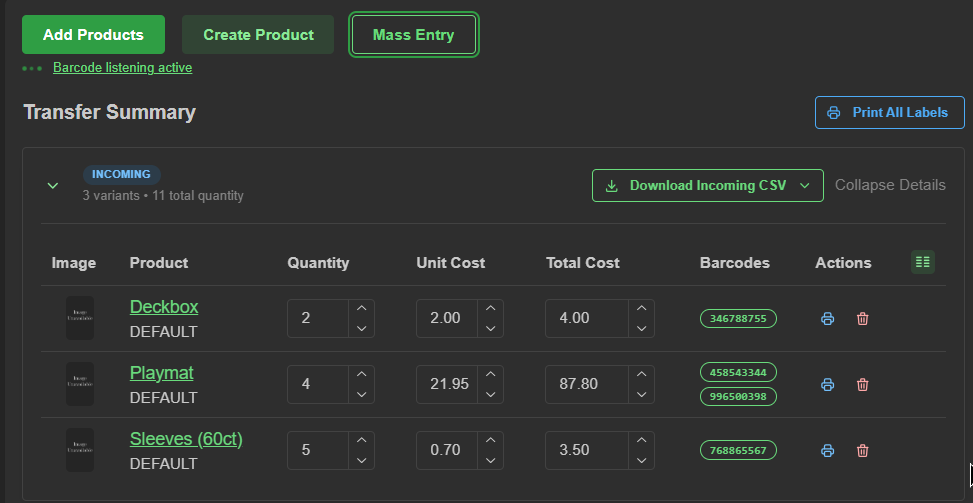
6) Continue building your purchase order or click 'Create Draft' at the top of the page to save your progress

This will establish the purchase order in ShadowPOS.
7) Once your purchase order is complete, be sure to 'Mark as Final'.

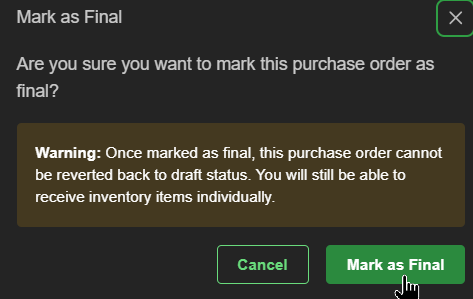
Once finalized, the transfer has been successfully created.
That's it!
You can begin receiving it immediately, or by visiting the Transfers page (Products > Transfers) in the future.
Was this article helpful?
That’s Great!
Thank you for your feedback
Sorry! We couldn't be helpful
Thank you for your feedback
Feedback sent
We appreciate your effort and will try to fix the article