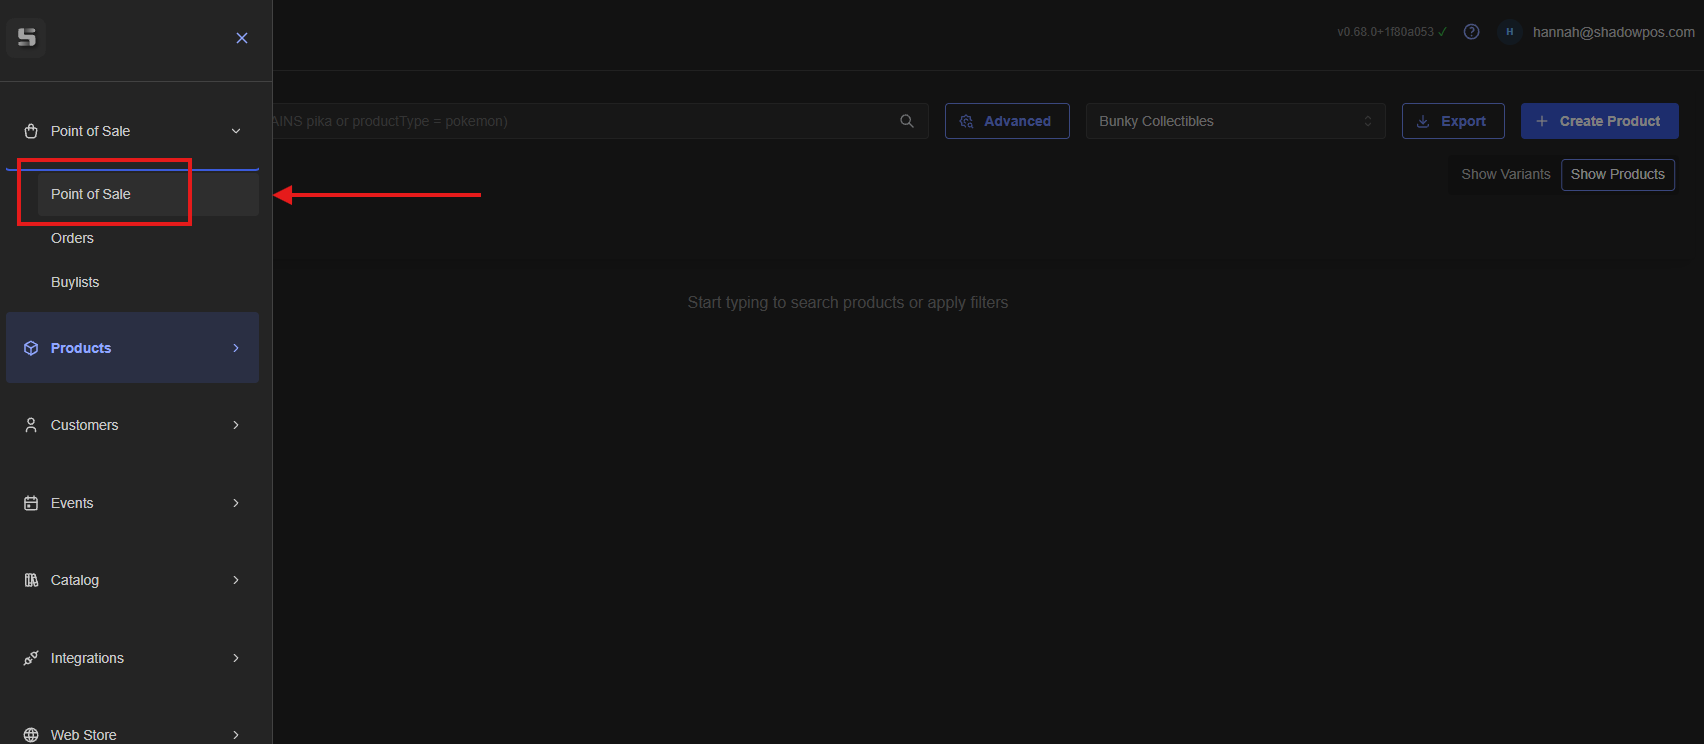
It's time for your first trade in, congrats! Once you're logged in to the Shadow interface you'll navigate to 'Point of Sale':
Once you've selected your till, you're ready to start!
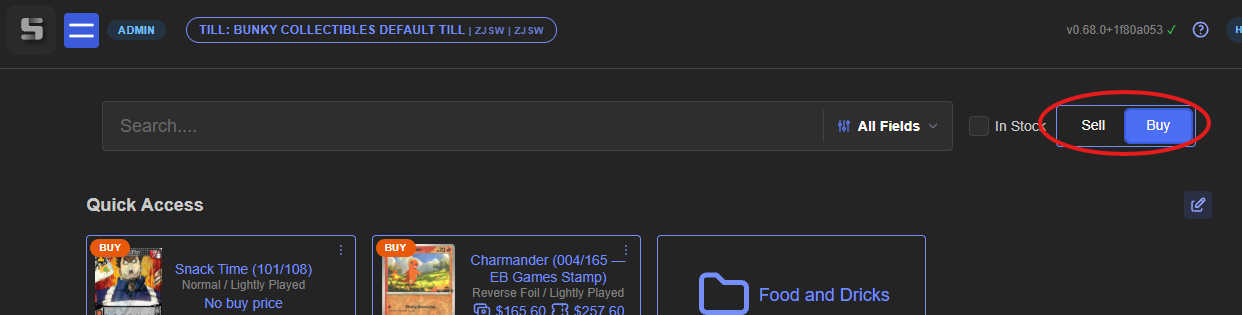
First step, since we're buying a card in, is to make sure we're in 'buy' mode:
Search for the card that's being traded in:
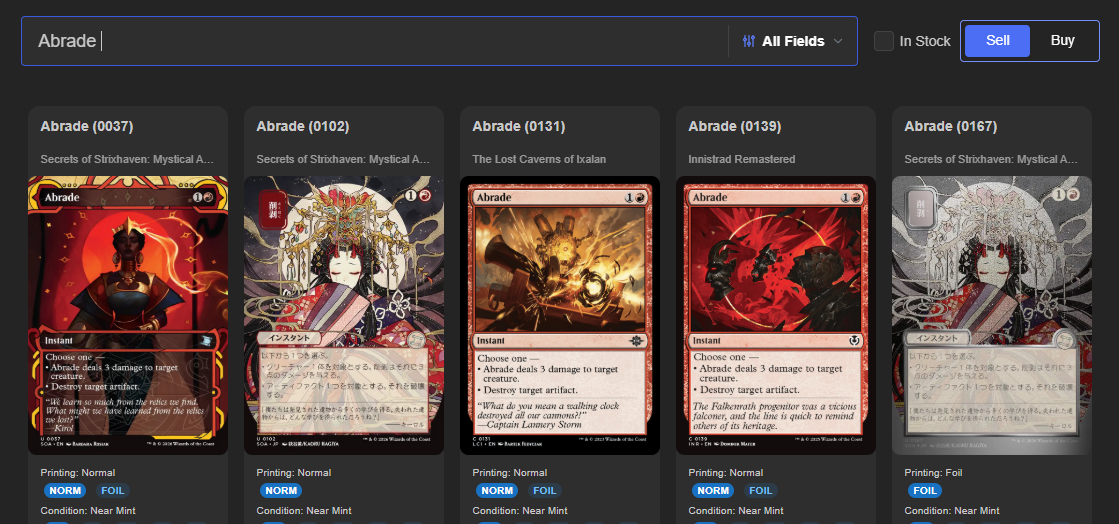
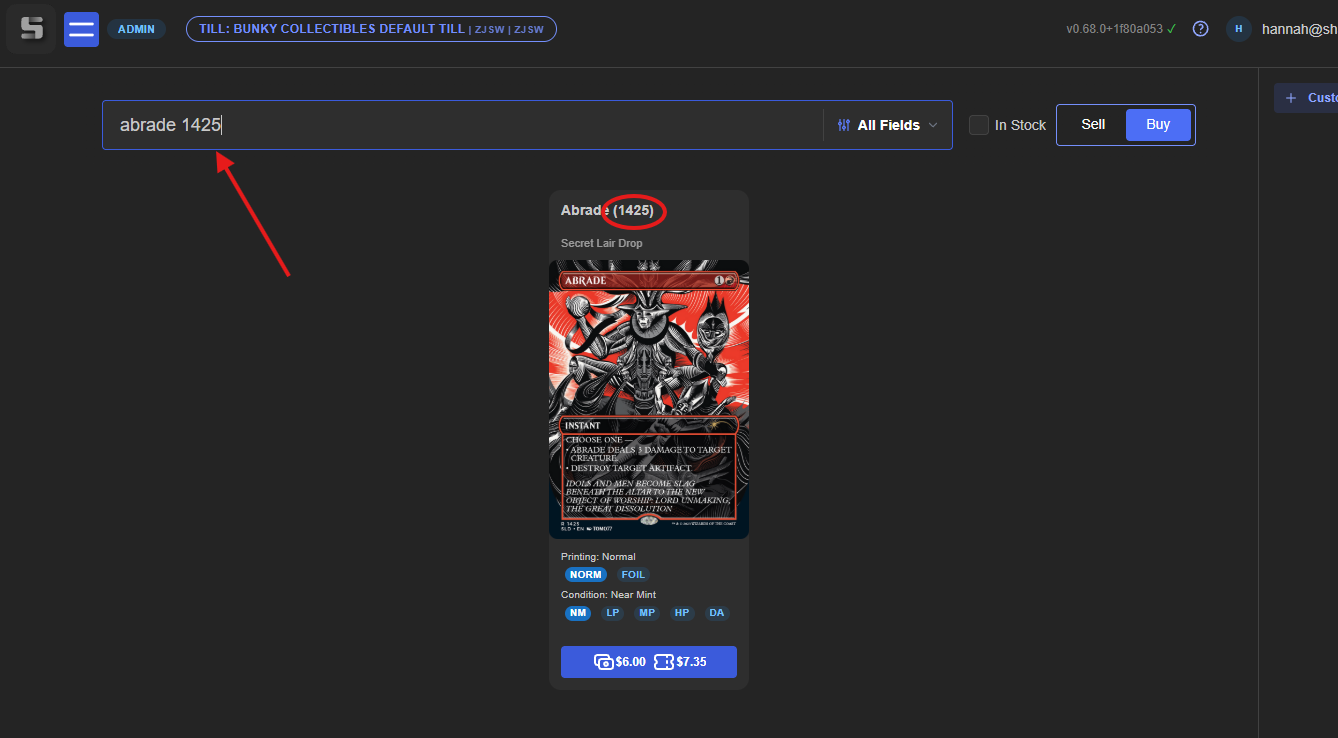
You're able to search by anything in the title as well as set, so if you know the number or set you an always narrow it down:
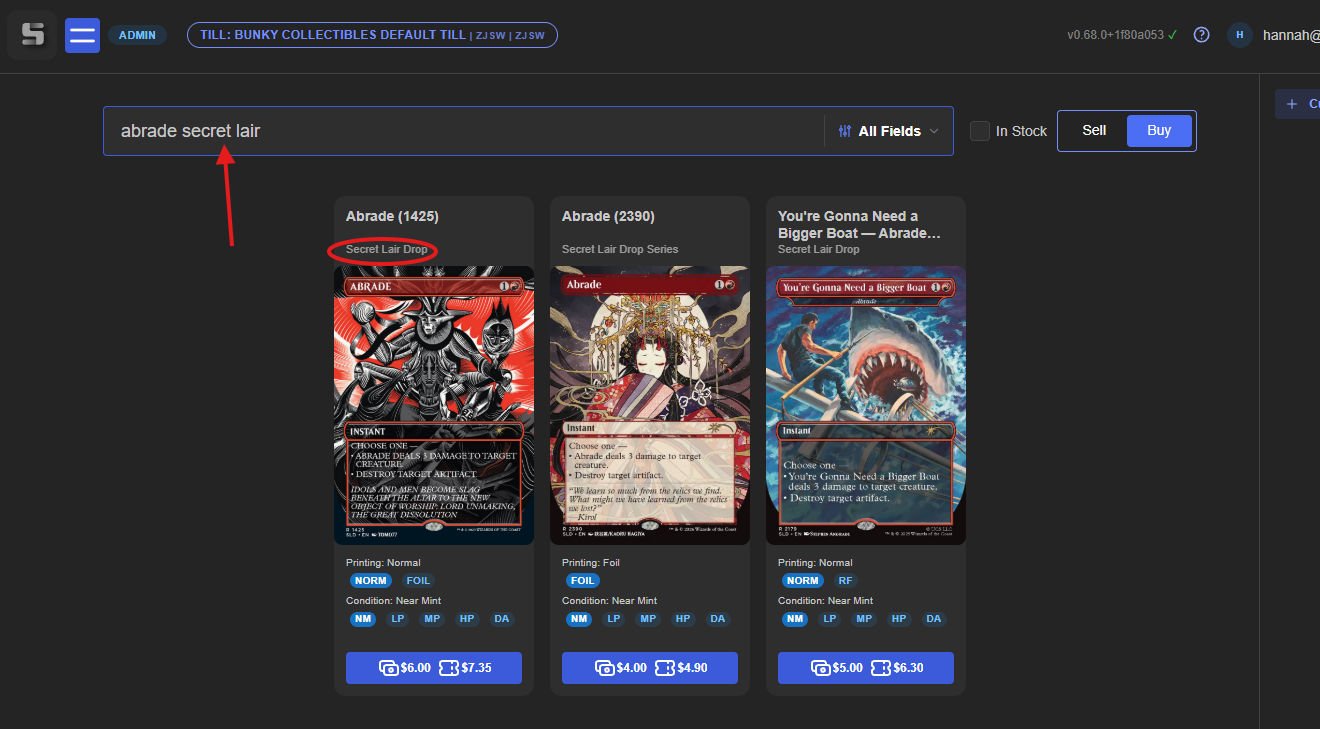
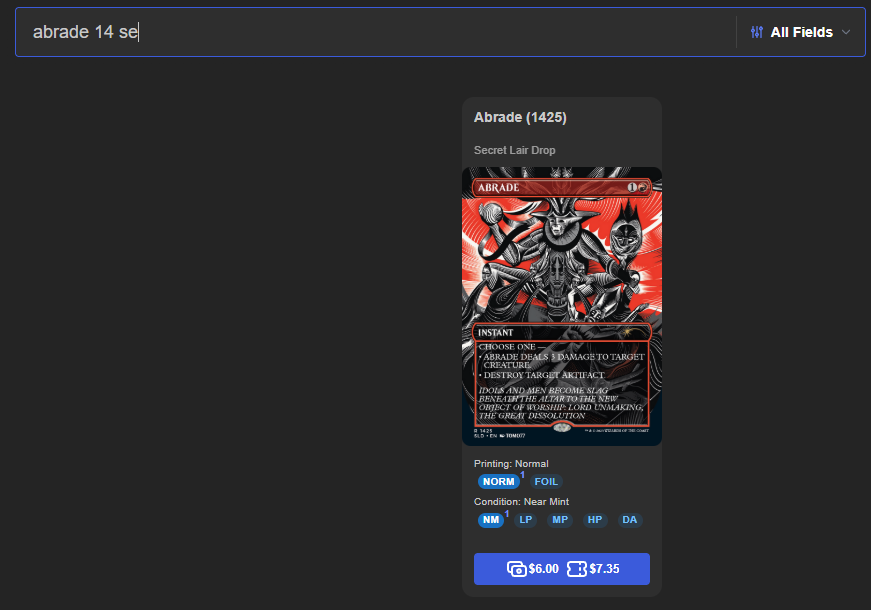
You can even do a partial search!
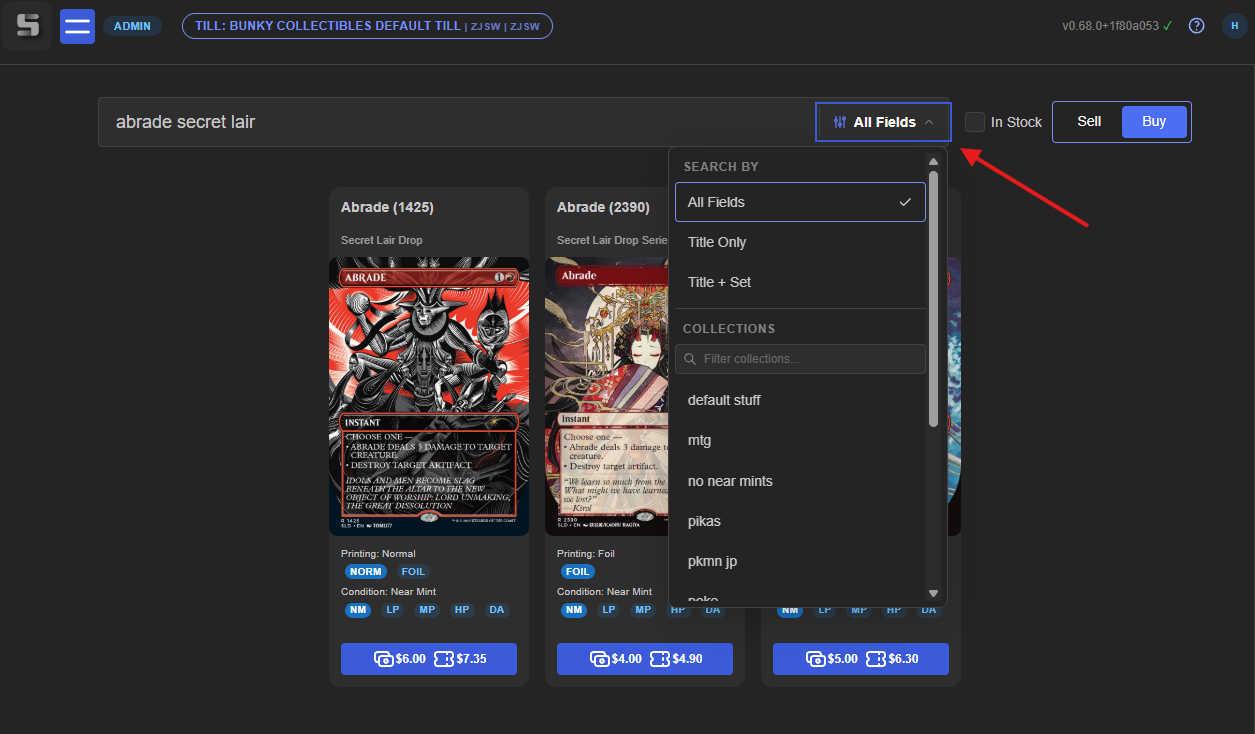
Note: you also can always narrow it even further by setting a filter. There are a few in there by default, and then any collections that you have.
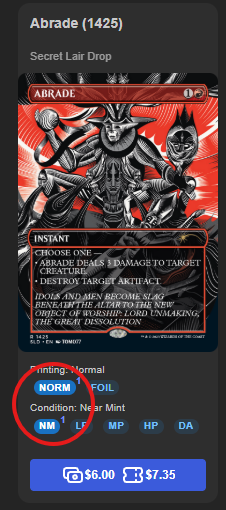
Once you've found the correct card, you'll pick the printing (which will vary by card and game):
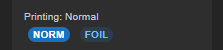
For this example we'll say it's a normal printing.
Then you'll select which condition the card is in:
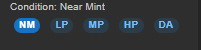
The abbreviations are as follows:
- NM - Near Mint
- LP - Lightly Played
- MP - Moderately Played
- HP - Heavily Played
- DA - Damaged
For this card we'll say it's NM.
Now we add it to the cart! Just click the button at the bottom of the card:
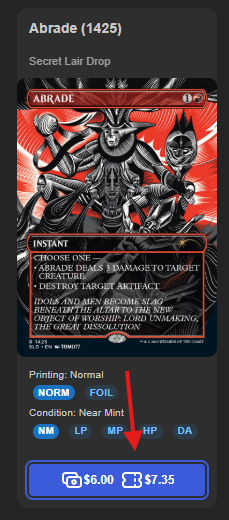
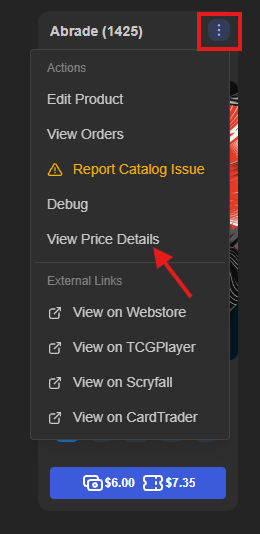
Did you know? If the calculated payout totals are looking incorrect you can always check what rules are affecting it by hitting the three dots in the top right corner of the product and then selecting 'View Price Details' from the menu, this will bring up a snap shot of your price rules:
Now it should appear in the cart:
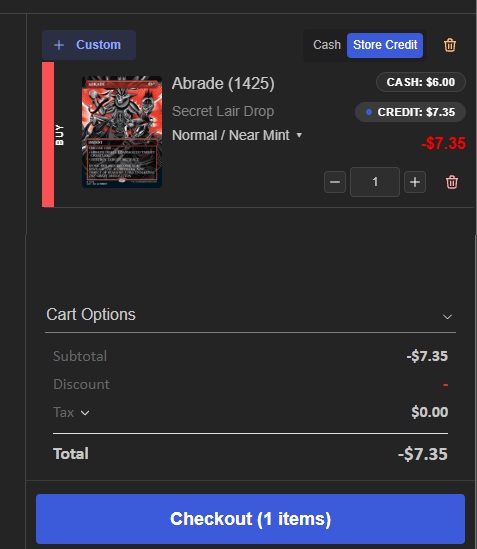
You can toggle between cash and store credit at any time in the check out process and the items in the cart will reflect that change:
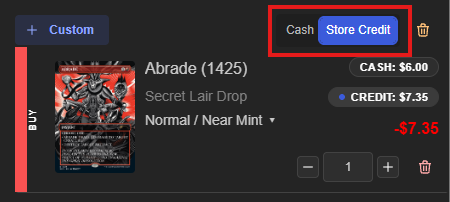
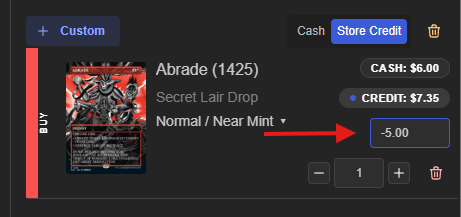
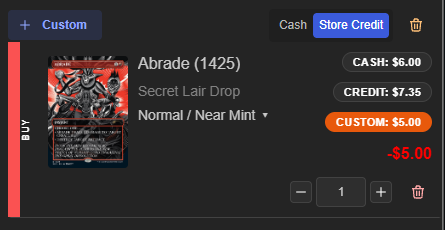
You can manually change the totals whenever you need by clicking on the payout amount on the product:
Before checking out, you'll probably want to attach a customer to the transaction, which you do by hitting 'Customer Search':
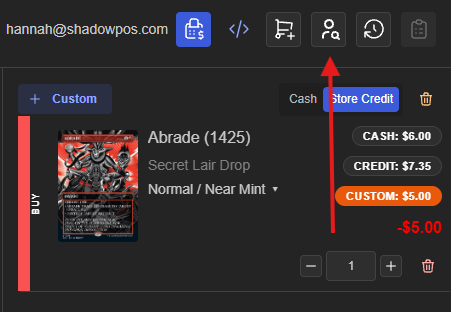
It will bring up a search window, that will allow you select a previously existing customer or create a new one:
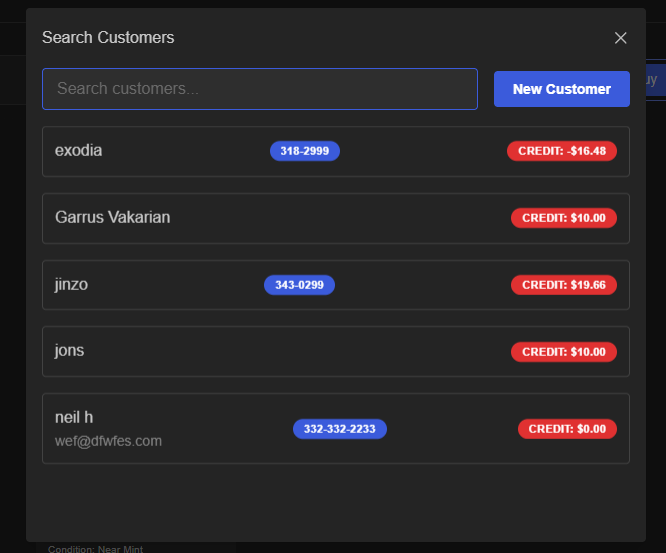
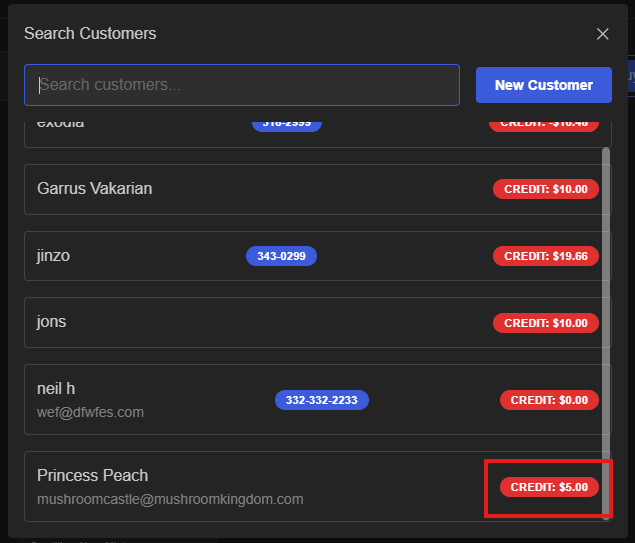
Check it out: it also gives you a snapshot of their current credit balance!
If you need to add a new customer, you'll hit the 'New Customer' button which will bring up this screen:
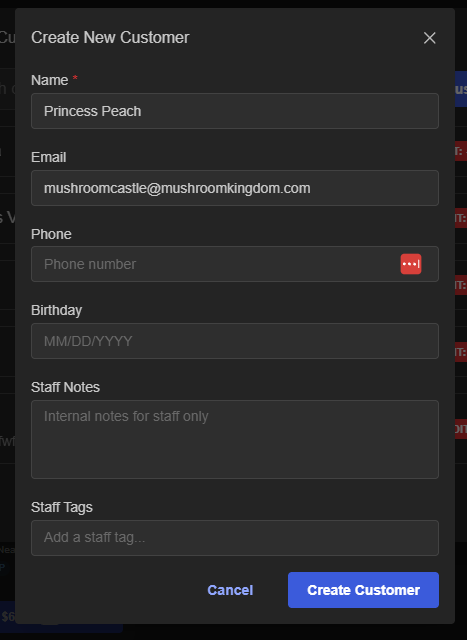
The only thing that is required by the system is a name, but filling out the rest may be helpful in other situations. You can also view customers information anytime, including history, by clicking the 'Customers' tab in the navigation menu.
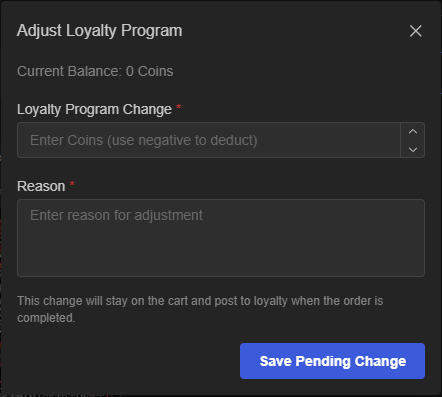
If you have a loyalty program set up and switched to accrue on buy ins, the system will automatically do that but you can also do that manually if you'd like or need to:
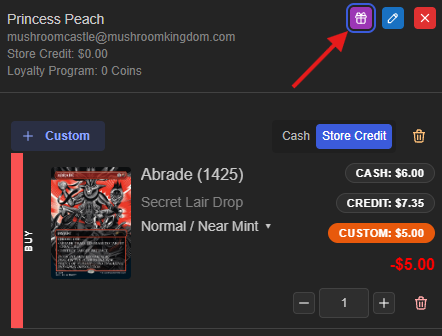
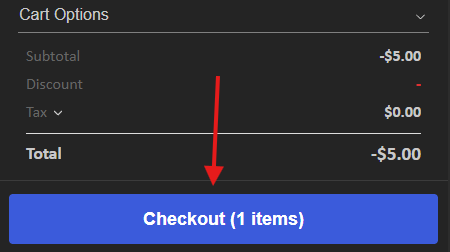
Now you'll hit the check out button!
Next you'll see the payment/check out screen:
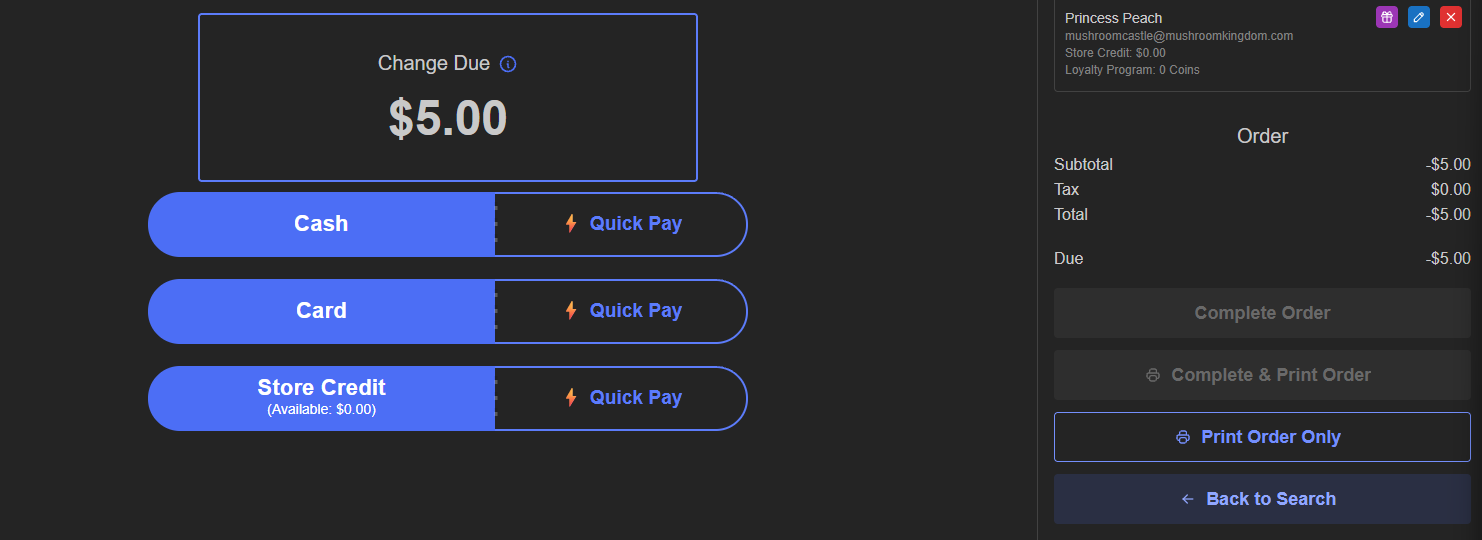
Since we're doing store credit for this transaction we'll select 'Store Credit', and more specifically the 'Quick Pay' option:
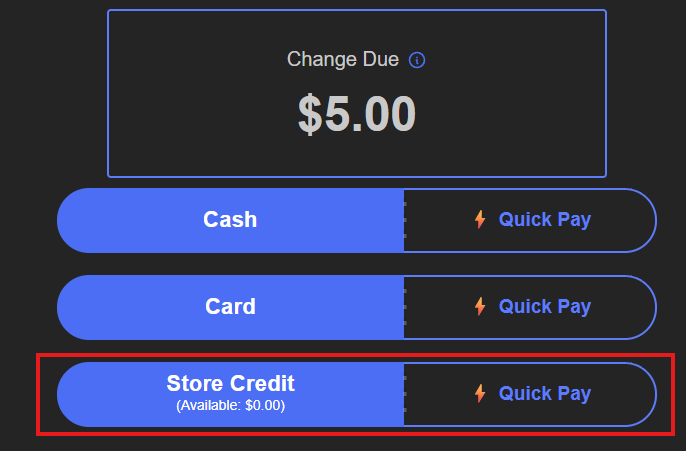
If we were doing a cash payout, then we would select quick pay on 'Cash'.
Be aware: If you select 'Store Credit' without adding a customer, you will be prompted to do so when you check out:

Now, on the righthand side of the screen the order should see a summary, and if everything is correct you'll hit 'Complete Order':
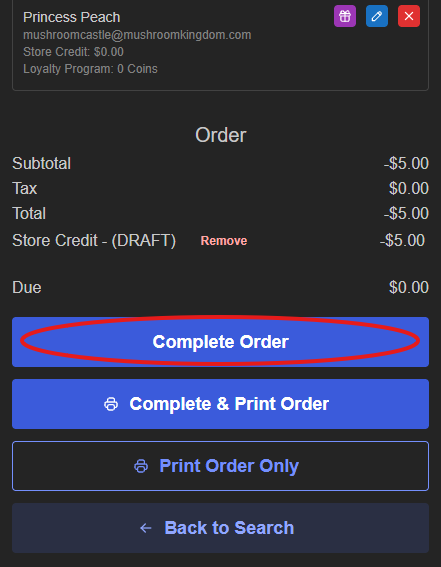
And the order is done! The store credit is applied to the customer's account:
And the card has been added to inventory, as indicated by the '1' next to both 'Norm' and 'NM':
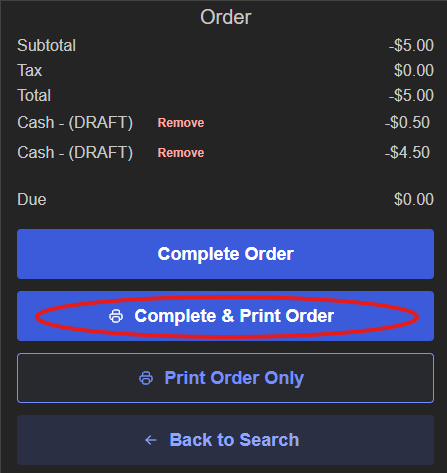
If you would like to print a receipt, then you would select the 'Complete & Print Order' option, which will bring up a print screen.
Remember: Make sure to check which printer is selected before printing the receipt!
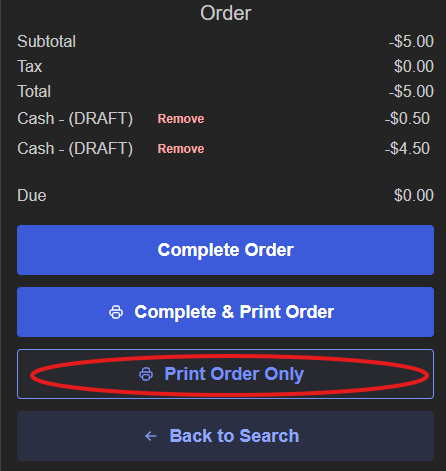
Suggestion: If you ever have a customer that would like to see an itemized breakdown of a large trade in, you can select the 'Print Order Only' for them to review before completing! This will print a copy of the cart without completing the transaction.
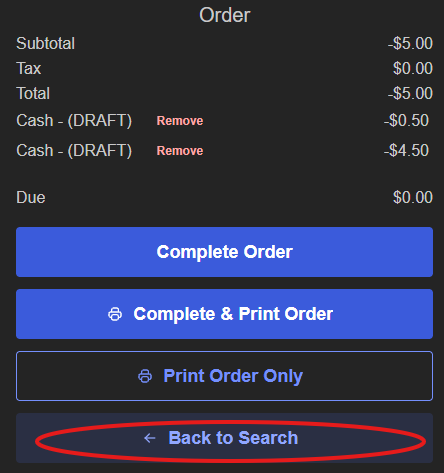
Lastly, if you ever need to make any adjustments to an order, such as remove an item, add an item, or change a price, you can hit 'Back to Search' and it'll take you back to the main POS screen.
Was this article helpful?
That’s Great!
Thank you for your feedback
Sorry! We couldn't be helpful
Thank you for your feedback
Feedback sent
We appreciate your effort and will try to fix the article