ShadowPOS supports the creation and management of multiple in-store tills (registers) on-demand at no extra cost. Your system is also compatible with most generic USB cash drawers, barcode scanners, and label/receipt printers.
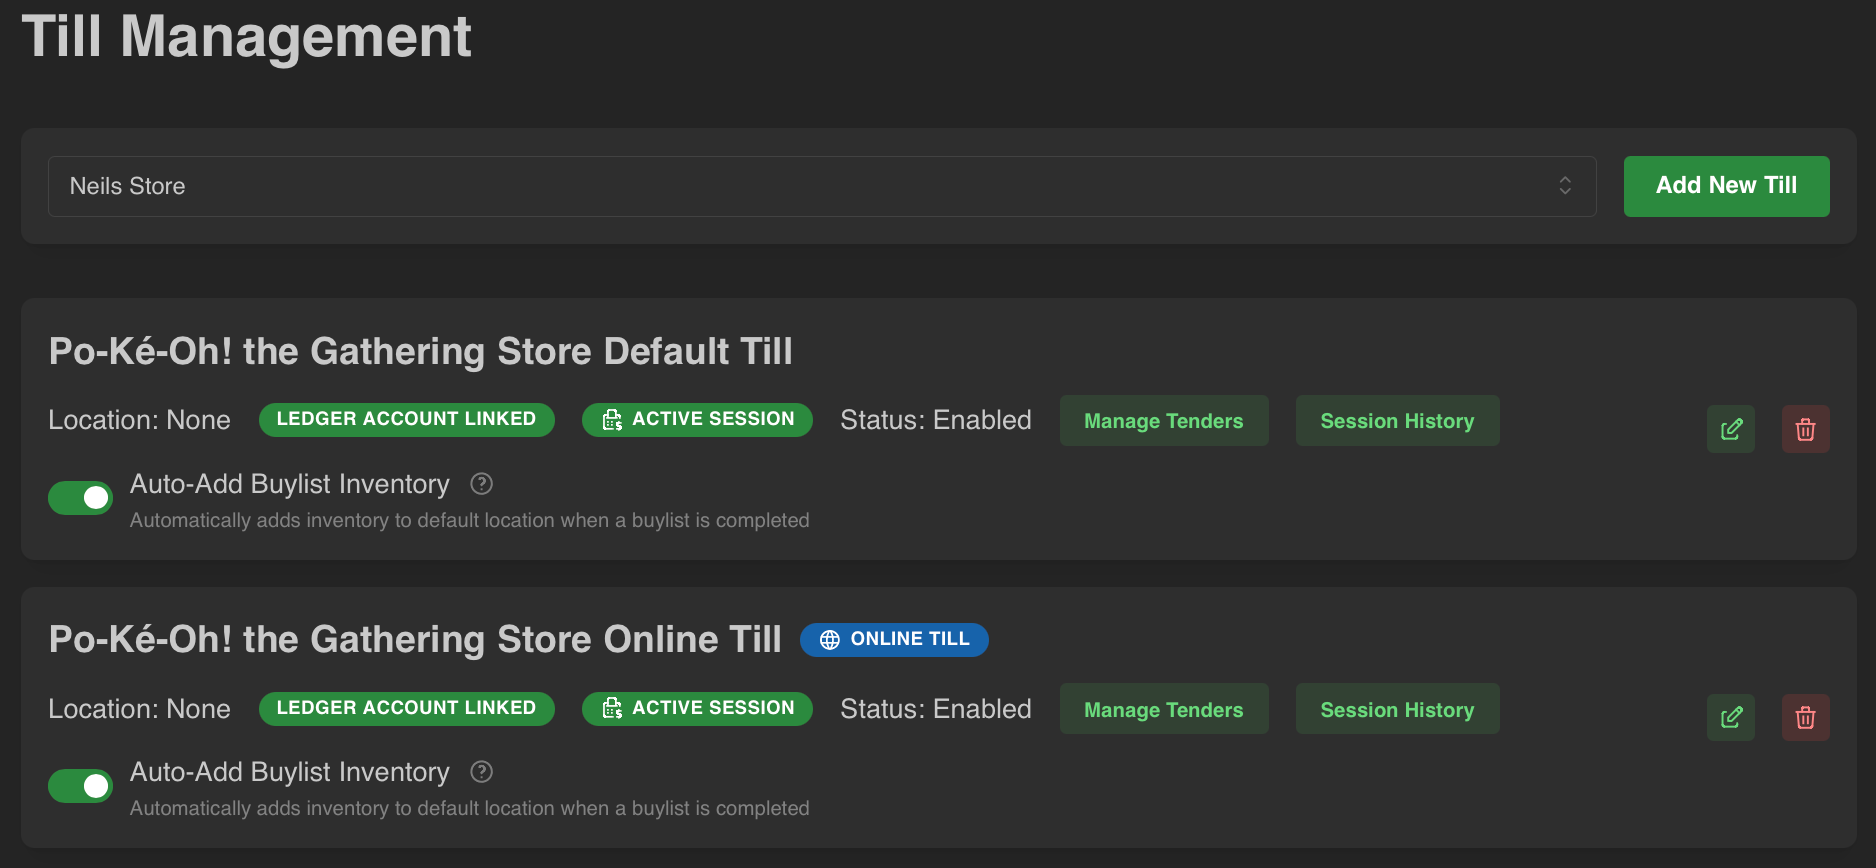
Visit Settings > Till Management
From this page you can:
- Add/remove and enable/disable tills
- Add/remove tender types per till (via Manage Tenders)
- View till session history
- Enable/disable buylist automatic inventory adjustment
Adding a till:
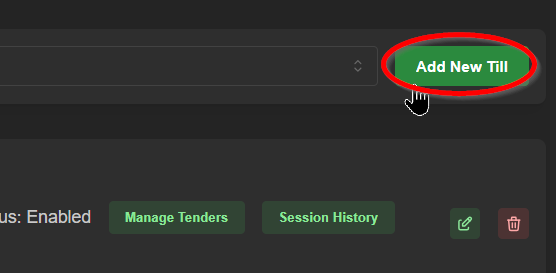
- Click 'Add New till' at the top corner of the page
- Name your till, and select any applicable options
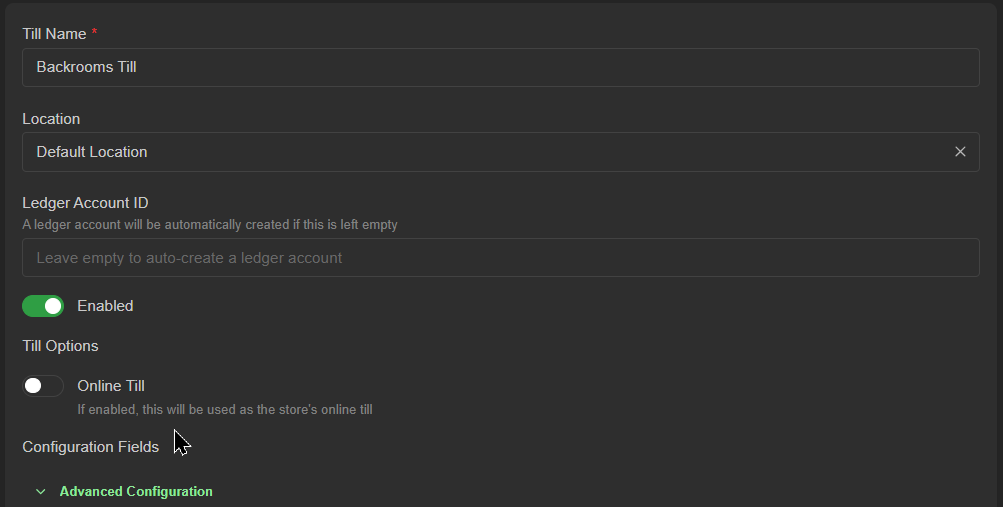
- Click 'Create Till' at the bottom to save.

Note: Turning off the 'Enabled' toggle doesn't delete the till; it only removes it from the point of sale and refund till selection menu. Session histories are preserved.
Regarding the online till: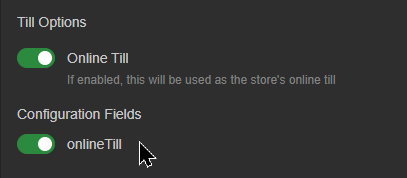
By default you already have one online till enabled.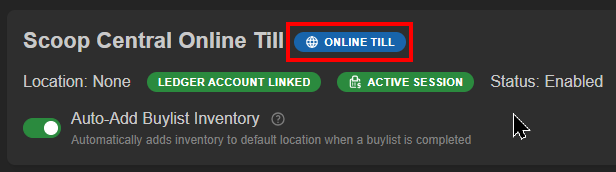
Creating a new one will disassociate any previous online till from your webstore and close its session; so just be sure to associate accepted tenders (via 'Manage Tenders'), and visit the point of sale page to open a session for the intended online till to enable purchases on your webstore.
at a glance: an instore till
- Manage Tenders: Associate which tender types are usable on this till
- Session History: View broad session details like tender summaries, current status (open/closed), etc
- Edit button - Reconfigure, enable, or disable till selection
- Auto-Add Buylist Inventory (toggle):
When toggled on: Incoming buylist items' transfer is automatically accepted/processed; inventory is immediately added
When toggled off: Incoming buylist items' transfer is created but must be manually accepted before inventory is added
Adding / removing tender types per till (Manage Tenders):
- Click the 'Manage Tenders' button on the till you want to edit, then click the '+Add Tender'
Hint: Till sessions must be closed to associate tenders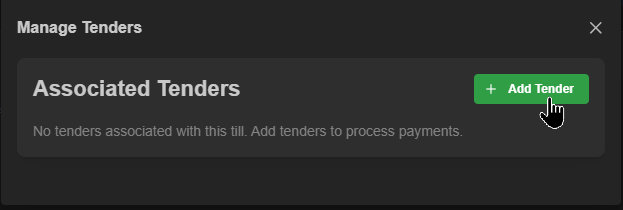
- Select tenders to add from the dropdown menu and click 'Add to Till'
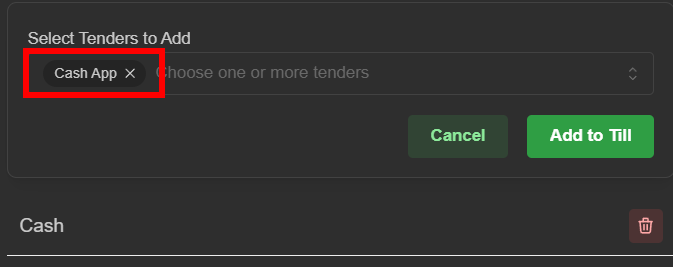
- Review your selections and close the window
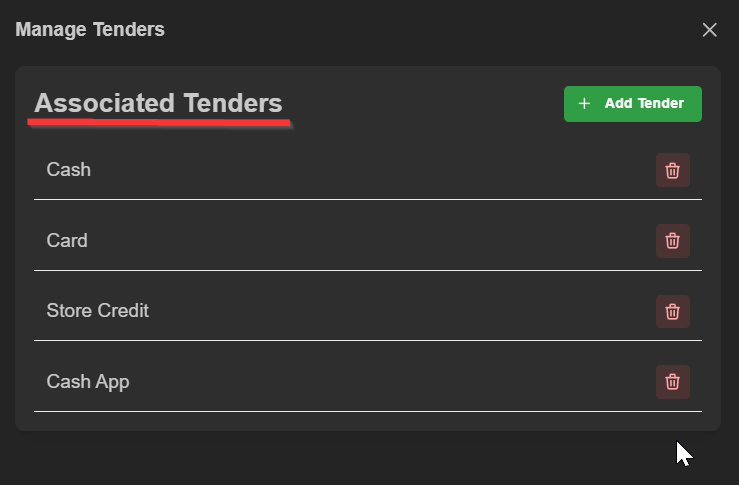 The associated tenders are now available in checkout!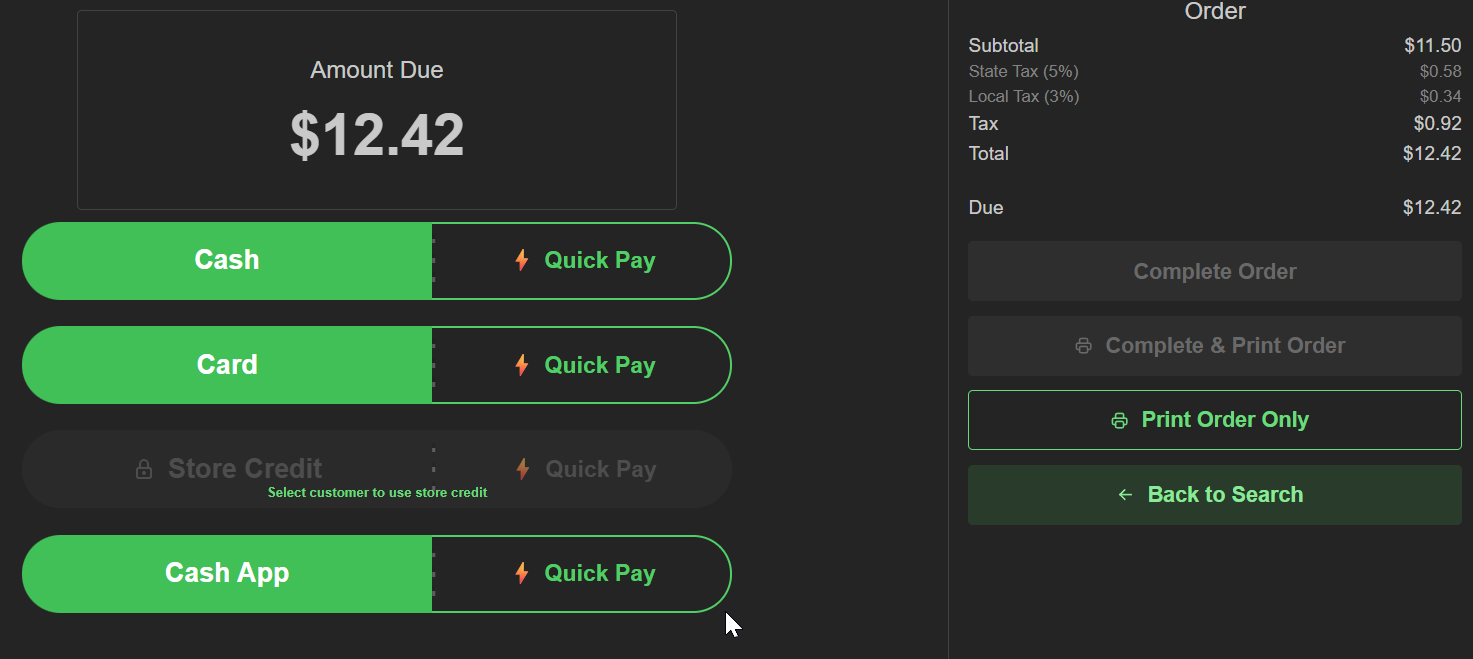
Viewing till session history:
- Click the 'Session History' button to open the window
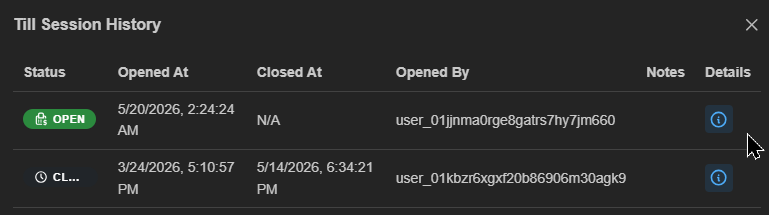
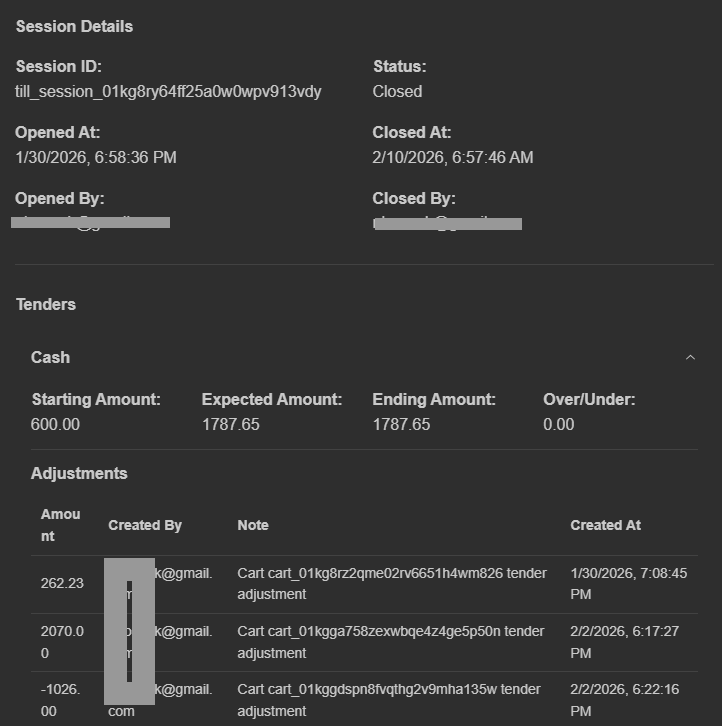
- View various status information here, or click the 'Details' icon to expand information at the bottom including tender starting amounts, transaction information per tender type, and cart notes.
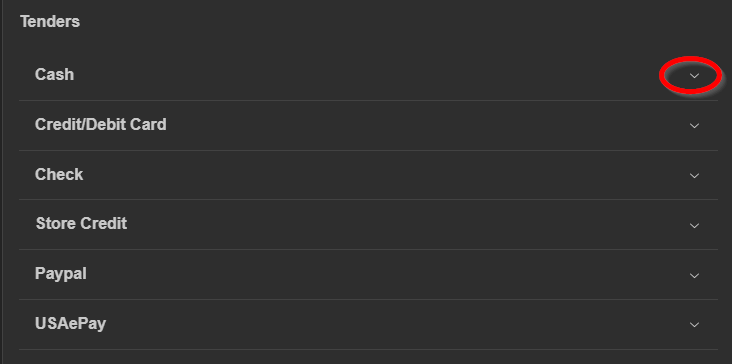
- Expand any tender dropdown for more details
Was this article helpful?
That’s Great!
Thank you for your feedback
Sorry! We couldn't be helpful
Thank you for your feedback
Feedback sent
We appreciate your effort and will try to fix the article